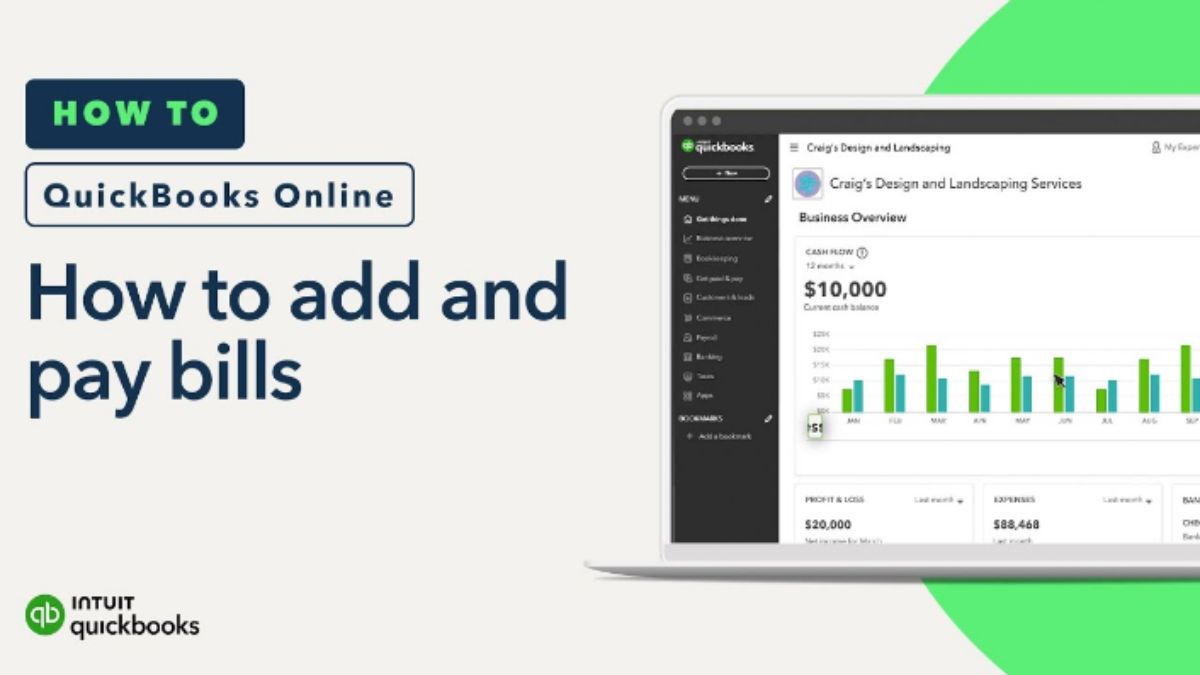
Paying your vendors efficiently is crucial for maintaining healthy business relationships and ensuring your financial records are accurate. QuickBooks Online (QBO) offers a streamlined process to manage vendor payments, whether you’re paying by check, ACH transfer, or credit card. This guide will walk you through each step, from setting up vendors to making payments and applying credits.
Table of Contents
Setting Up Vendors in QuickBooks Online
Before making payments, ensure your vendors are properly set up in QuickBooks Online.
-
Navigate to the Vendors Section:
From the dashboard, click on the Expenses menu and select Vendors. -
Add a New Vendor:
Click on New Vendor and enter the necessary details, including:-
Vendor name
-
Email address
-
Payment terms (e.g., Net 30)
-
Tax ID or Social Security Number (for 1099 reporting)
-
Default expense account
-
-
Save the Vendor:
After entering all required information, click Save to add the vendor to your list.
For detailed instructions, refer to QuickBooks’ guide on setting up vendors.
Entering Bills for Vendors
To pay a vendor, you must first enter the bill into QuickBooks Online.
-
Access the Create Menu:
Click on the + New button and select Bill under the Vendors section. -
Fill in Bill Details:
Enter the following information:-
Vendor name
-
Bill date
-
Due date
-
Expense category
-
Description (optional)
-
Amount
-
-
Attach Supporting Documents:
If you have a digital copy of the bill, attach it by clicking on Attachments. -
Save the Bill:
Once all information is entered, click Save and Close.
For more information, see the guide on entering bills.
Paying Bills in QuickBooks Online
Once your bills are entered, you can proceed to pay them.
-
Access the Pay Bills Section:
Click on the + New button and select Pay Bills under the Vendors section. -
Select Bills to Pay:
Choose the bills you wish to pay by checking the boxes next to them. -
Enter Payment Details:
For each selected bill, enter the following:-
Payment account (e.g., bank account)
-
Payment date
-
Amount to pay
-
-
Review and Confirm:
Ensure all details are correct and click Save and Close to complete the payment.
For a comprehensive guide, refer to this article.
Applying Vendor Credits
If a vendor has issued a credit, you can apply it to an open bill.
-
Create a Vendor Credit:
Click on the + New button and select Vendor Credit under the Vendors section. Enter the vendor name and credit details, then click Save and Close. -
Apply the Credit to a Bill:
-
Navigate to the Expenses menu and select Bills.
-
Open the bill you wish to pay.
-
Click on Make Payment.
-
In the Credits section, check the box next to the vendor credit.
-
Click Save and Close to apply the credit.
-
For more details, see the guide on applying vendor credits.
Managing Payment Methods
QuickBooks Online allows you to pay vendors using various methods.
-
Bank Transfers (ACH):
-
Go to the Expenses menu and select Vendors.
-
Choose the vendor and click on Set Up Bank Transfer.
-
Enter the vendor’s bank details and save.
-
-
Credit Cards:
-
When paying a bill, select your credit card account as the payment method.
-
-
Checks:
-
During the payment process, select Check as the payment method and print the check if necessary.
-
For more information, refer to QuickBooks’ guide on paying suppliers.
Scheduling Recurring Payments
For regular vendor payments, setting up recurring payments can save time.
-
Create a Recurring Bill:
-
Click on the + New button and select Recurring Bill under the Vendors section.
-
Enter the vendor and bill details.
-
Set the frequency (e.g., weekly, monthly) and start date.
-
-
Save the Template:
Click Save Template to schedule the recurring payment.
For a step-by-step guide, see the article on entering bills.
Tracking Payment Status
To monitor the status of your vendor payments:
-
Access the Bill Pay Payments Page:
-
Click on the Expenses menu and select Bills.
-
Click on Show Bill Pay Payments.
-
-
View Payment Status:
-
In the Bills tab, you can see all bills and their payment status (e.g., Paid, Unpaid, Pending).
-
For more details, refer to the guide on paying vendors.
Best Practices for Vendor Payments
-
Reconcile Accounts Regularly:
Ensure your bank and credit card accounts are reconciled to maintain accurate records. -
Set Up Bill Reminders:
Use QuickBooks Online’s reminder feature to avoid missing payment due dates.
